Engaging children in activities that foster a connection with nature is essential for their development and environmental awareness. Making seed balls is a perfect project that combines creativity, gardening, and environmental stewardship. These clay-covered dirt balls filled with seeds hold the promise of beautiful flowers and play a vital role in supporting pollinators and native plants in your area. In this blog post, we will explore what seed balls are, why it's important to make them with kids, and how you can replicate this project at home!
Understanding Seed Balls and Their Purpose:
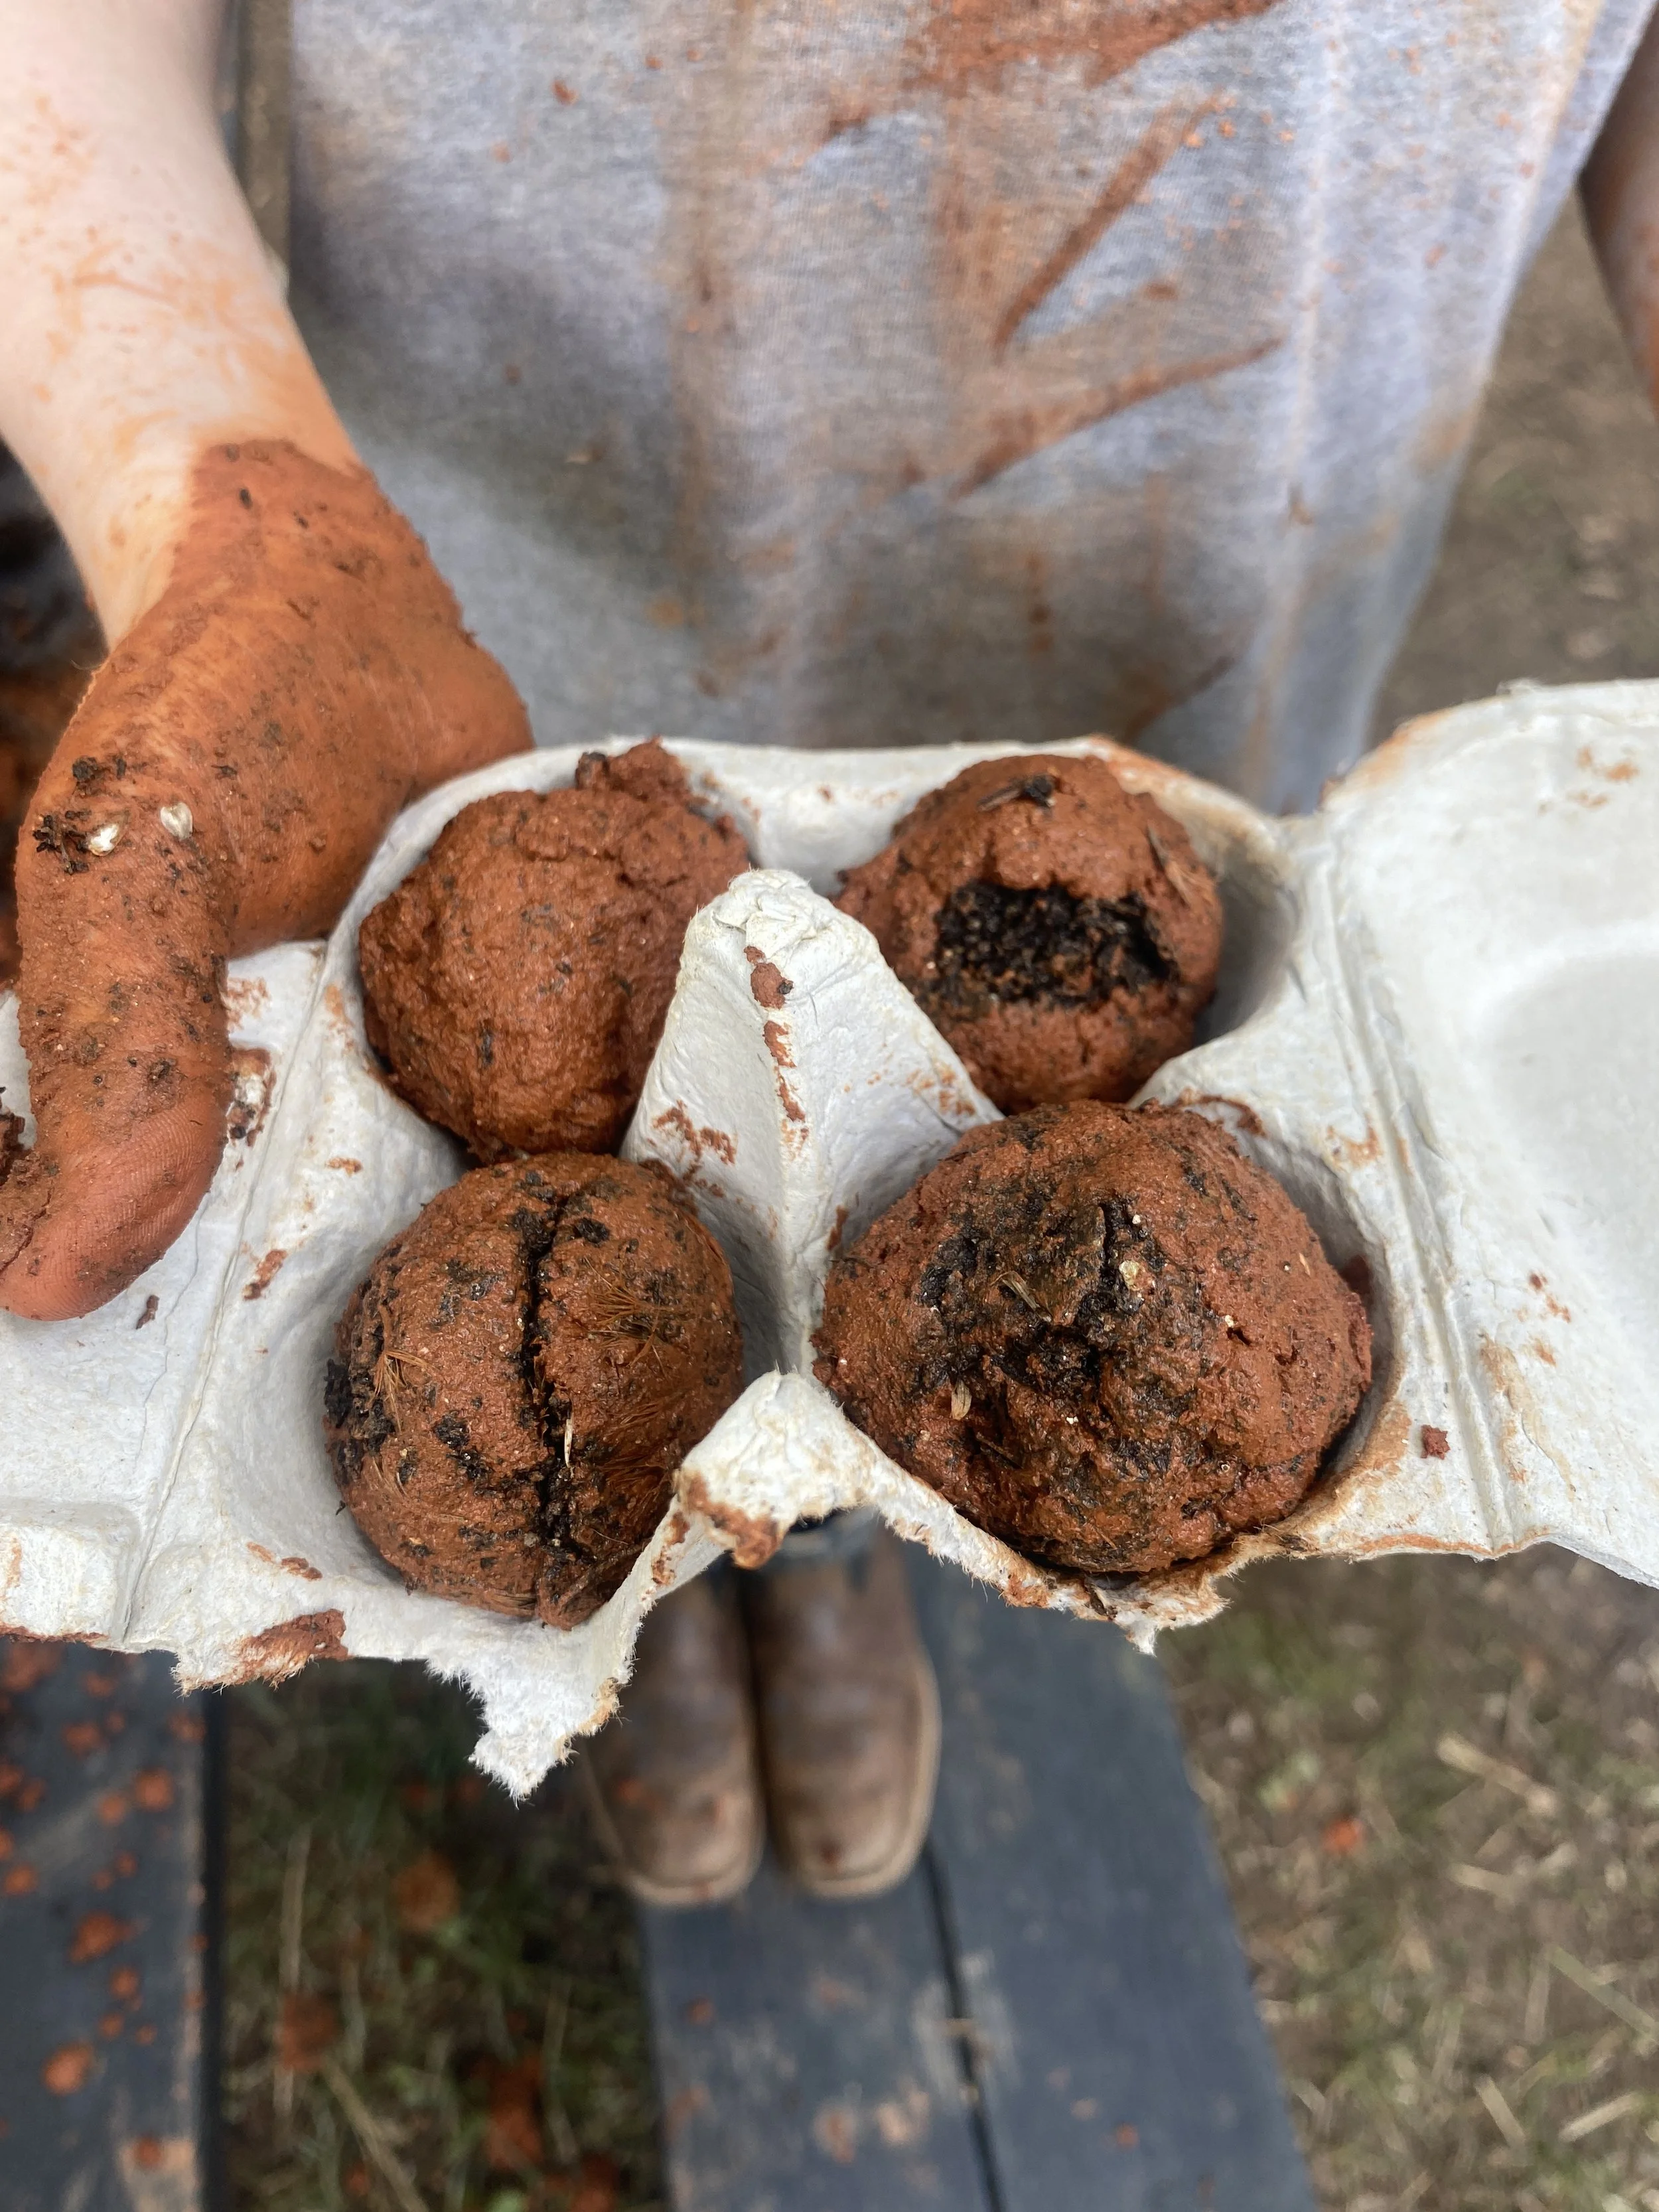
Seed balls, also known as seed bombs, are compact spheres made of clay, soil, and a variety of seeds. They serve as a convenient way to disperse seeds and promote plant growth in areas that need restoration or increased biodiversity. When thrown or placed in a suitable environment, such as a garden, abandoned lot, or roadside, the clay shell protects the seeds from harsh conditions like wind, rain, and birds. As the seed ball dissolves and breaks down, the seeds germinate, giving rise to a vibrant array of flowers that attract pollinators and contribute to a healthy ecosystem.
Why make seed balls with kids?
Teaching children about the significance of seed bombs offers numerous benefits beyond the joy of playing in the dirt. Here are a few reasons why making seed balls with kids is valuable:
Learning about Pollinators
Seed balls can be packed with seeds of flowering plants that provide essential food sources for pollinators like bees, butterflies, and hummingbirds. By explaining the role of these creatures in pollination and emphasizing the importance of their conservation, children develop an understanding of the delicate balance of ecosystems.
Encouraging Gardening
Seed balls provide a playful and accessible entry point for children to explore the world of gardening. Through the process of making seed balls, kids witness the magic of sowing seeds and nurturing plant growth. They get to experience the joy and satisfaction of seeing their efforts sprout into beautiful flowers. Children learn about the various stages of plant growth, the importance of providing suitable environments for plants to thrive, and the rewards of taking care of living organisms.
Environmental Stewardship
Making seed balls with kids instills a sense of environmental responsibility. By actively participating in the restoration and beautification of their surroundings, children develop a connection to the natural world and a desire to protect it. They understand that their actions can make a positive impact on their surroundings and contribute to the preservation of the natural world.
Hands-on Fun
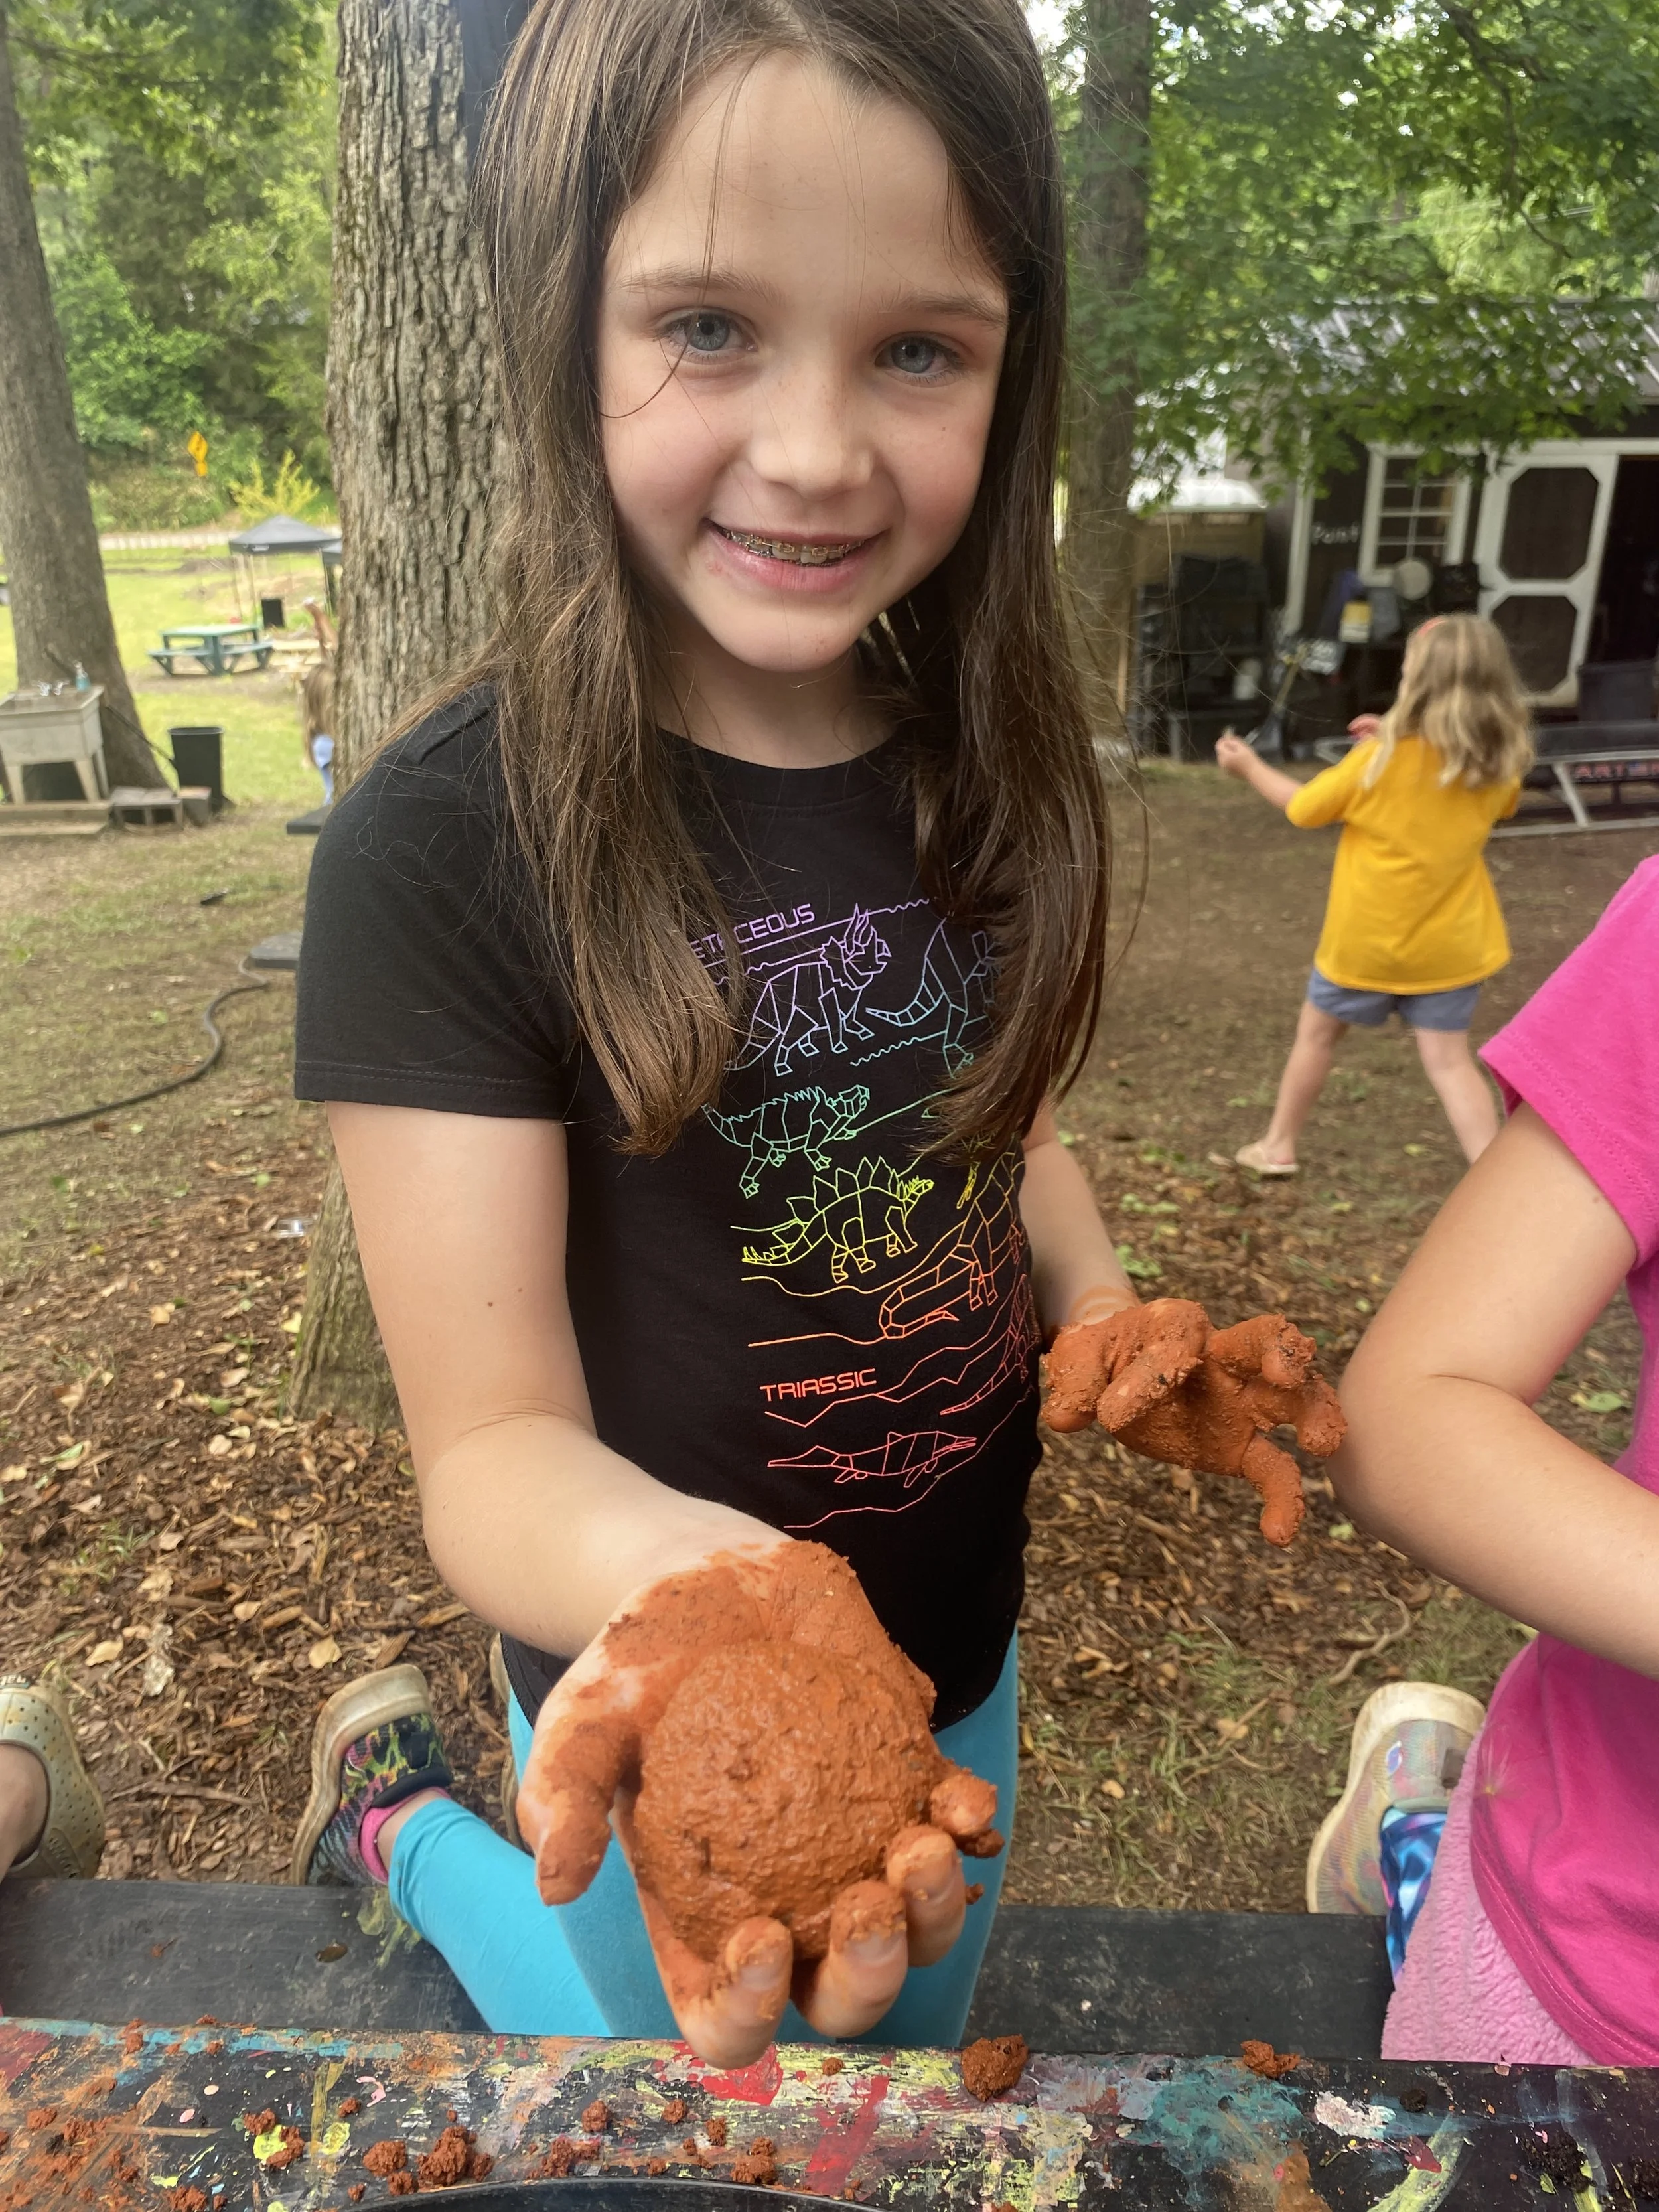
The process of making seed bombs is tactile and enjoyable. Kids can get their hands dirty, shape the clay, and see the transformation from a simple mixture to a powerful tool for nature. It's a fantastic way to engage their senses and spark their curiosity!
Materials Needed
Seeds: You can collect seeds from flowering plants in your garden or purchase a variety of seeds from a store. Consider selecting native plant species and pollinator-friendly flowers such as marigolds, calendula, straw flower, milkweed, and more.
Dirt: Collect soil from your garden or use potting soil. Ensure that it is free from chemicals or contaminants.
Clay: Clay can be sourced from your yard or any location with red clay. If you cannot find clay locally, you may purchase it.
Water: You'll need water to moisten the clay and soil for easy mixing and shaping.
Step-by-Step Instructions:
Step 1: Wet the clay and soil: Place the clay and soil in separate containers and dampen them with water. This moisture helps in mixing and shaping the seed balls.
Step 2: Take a small clump of clay: In your hand, grab a small handful of wet clay.
Step 3: Add soil: Place a bit of damp soil on top of the clay in your hand.
Step 4: Add the seeds: Sprinkle a selection of seeds on the soil layer. Be generous but avoid overcrowding.
Step 5: Cover with more damp clay: Add another layer of wet clay on top of the seeds and soil. Gently form into a ball using your hands to shape the mixture, ensuring the seeds are encased within the clay and soil.
Step 6: Let them dry: Place the seed balls on a tray or parchment paper and allow them to air dry for a day or two. This step helps the clay to harden and hold the shape. Now you can plant or share! Once dry, they are ready for planting. You can choose to sow them in your garden, gift them to friends and family, or even embark on a community beautification project.
Conclusion
Making seed balls with kids is a fantastic way to inspire their love for nature, teach them about pollinators, and encourage gardening. By using simple materials like clay, soil, and seeds, you can create powerful tools for environmental restoration and beautification. So, gather your little gardeners, get your hands dirty, and let the magic of seed balls bloom in your surroundings!


